Today we were able to make some very good progress. We finished up routing and securing the brake lines in the rear. We then assembled and installed the battery box and battery. We decided to move forward without installing the brakes at this point because we're still missing the disc's, don't ask : (
So we installed some of the brake parts and the wheels. We then removed the dolly that we had built for the car and put the car on individual wheel dollies I purchased. Looks good. Our plan now is to get the engine and transmission ready to install. We're planning on installing them on Memorial Day morning. Going to see if we can line up another person or so to lend a hand with this.
Here you can see the new black dollies we will be using now.
You can see the dolly we built still under the car, which
we will now remove.
Car now riding on the new dollies.
Battery box and battery now installed.
Here you can see the battery box behind the fuel pump.
Where I have the fuel pump located is where the battery would normally go
but we felt it would be to hard to work on it there.
Car pushes around fairly easily now with new dollies.
Friday, May 23, 2014
Wednesday, May 21, 2014
We finally got the rear end parts in.
Well, we had a small triumph on parts. The upper control arms came in for the rear end so we were able to install the rear end. That rear end is a little heavy and awkward so we had to use a jack to move it around, it was a little difficult to get it positioned correctly, but we finally got it in place and installed. One more thing off the check list.
Today we worked on finishing up the brake lines other than the final connection. We are still missing the brake disks, this goes beyond crazy, a long story, but we decided to install the wheels without the brakes for now. This will allow us to go forward installing the engine and transmission and many other things once we have the car on it's wheels. I bought individual dollies that we can put under each wheel to allow us to push the car around the shop.
My oldest granddaughter thought she would like to do a little work on the car so she came over. I had to remove a couple panels that grandson Taylor had already put on to make room for some wires so I had Morgan put those panels back on. I also showed her how to tap a piece of metal to allow for threading a screw into the metal. She did a really good job and caught on very quickly. I think she enjoyed working on the car.
Here are some photos. I think things will start moving more quickly now that we've decide to move forward without the brakes installed.
Granddaughter Morgan turning into a grease monkey : )
Learning how to tap threads into a piece of metal for a screw.
Getting ready to have at it. Looks like she's pretty serious about this stuff : )
Starting to rivet on a metal panel.
Installing pop rivets.
Steve and I installing rear end.
Rear end in, one more thing off of the check list.
Today we worked on finishing up the brake lines other than the final connection. We are still missing the brake disks, this goes beyond crazy, a long story, but we decided to install the wheels without the brakes for now. This will allow us to go forward installing the engine and transmission and many other things once we have the car on it's wheels. I bought individual dollies that we can put under each wheel to allow us to push the car around the shop.
My oldest granddaughter thought she would like to do a little work on the car so she came over. I had to remove a couple panels that grandson Taylor had already put on to make room for some wires so I had Morgan put those panels back on. I also showed her how to tap a piece of metal to allow for threading a screw into the metal. She did a really good job and caught on very quickly. I think she enjoyed working on the car.
Here are some photos. I think things will start moving more quickly now that we've decide to move forward without the brakes installed.
Granddaughter Morgan turning into a grease monkey : )
Learning how to tap threads into a piece of metal for a screw.
Getting ready to have at it. Looks like she's pretty serious about this stuff : )
Starting to rivet on a metal panel.
Installing pop rivets.
Rear end in, one more thing off of the check list.
Friday, May 2, 2014
Finishing up some of the electrical and transmission work.
Believe it or not we are still waiting on the rear end and brake parts. Really making this build more difficult than necessary but we just keep plugging along. Once we receive those parts we can install the rear end and the brakes. We will then be able to install the engine and transmission and start attaching all the electrical ends we have been working on and buttoning down a lot of peripheral things such as bolting down the gas tank, riveting paneling pieces in place etc.
Steve has really been doing a yeoman's duty on the wiring of the car. He seems to like that aspect. We worked today on getting the gear shift paraphernalia installed. Really interesting how all of that comes together.
I've been playing around with a console we will use. Trying to do a little mock up of what it will be.
When I ordered my engine I ordered with it braided spark plug wires, they make it look a lot better than black ones. When the engine arrived the wires looked pretty bad in that they weren't cut to size and some were too long making them look very uneven. So I ordered a new set of wires, measuring exactly how long I wanted them and you guessed it, when they came in they hadn't followed my instruction correctly. But Taylor, my grandson, and I installed them anyway and we were able to use some of the old ones to make it work. They now look much better.
Taylor came over to help me with the spark plug wires.
Installed new spark plug wires.
Haven't shown this before. I had the grill chromed. It should look really great when installed : )
Lots of wiring needs for this one.
Put in the seat, steering wheel and console to check on gas pedal location.
Installed gear shift paraphernalia. Here you can see the shifter with linkage.
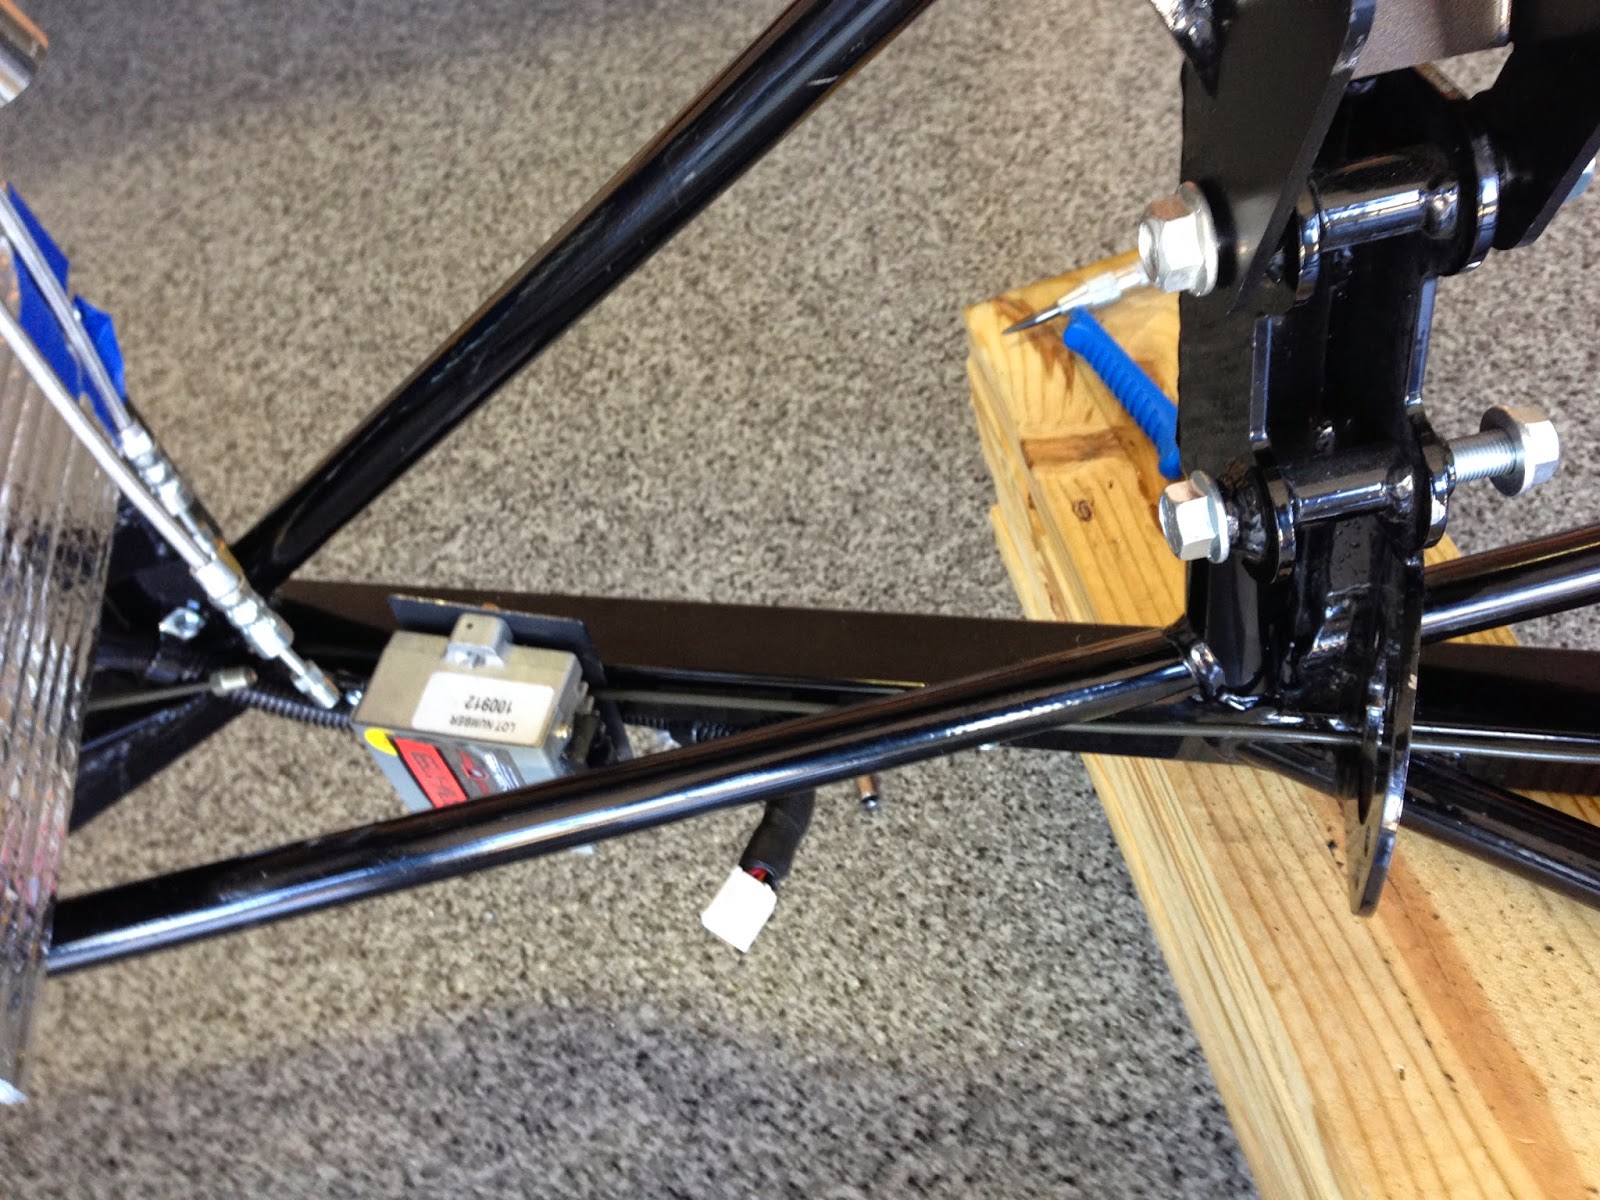
The silver box is the sending unit to be able to display in the car what gear the transmission is in.
Gear shift knob. I'm installing a 4 speed automatic with overdrive.
Steve has really been doing a yeoman's duty on the wiring of the car. He seems to like that aspect. We worked today on getting the gear shift paraphernalia installed. Really interesting how all of that comes together.
I've been playing around with a console we will use. Trying to do a little mock up of what it will be.
When I ordered my engine I ordered with it braided spark plug wires, they make it look a lot better than black ones. When the engine arrived the wires looked pretty bad in that they weren't cut to size and some were too long making them look very uneven. So I ordered a new set of wires, measuring exactly how long I wanted them and you guessed it, when they came in they hadn't followed my instruction correctly. But Taylor, my grandson, and I installed them anyway and we were able to use some of the old ones to make it work. They now look much better.
Taylor came over to help me with the spark plug wires.
Installed new spark plug wires.
Haven't shown this before. I had the grill chromed. It should look really great when installed : )
Lots of wiring needs for this one.
Put in the seat, steering wheel and console to check on gas pedal location.
Installed gear shift paraphernalia. Here you can see the shifter with linkage.
The silver box is the sending unit to be able to display in the car what gear the transmission is in.
Gear shift knob. I'm installing a 4 speed automatic with overdrive.
Wednesday, April 16, 2014
A little of this and a little of that.
Amazingly we still are waiting on rear end parts and the correct brakes disks : ( So Steve and I have been trying to get other things done. We've run the brakes lines as far as we can until we are able to install the brake calipers and disks to get the correct measurement for connecting the lines to the brake caliper. We've begun some of the wiring process also.
Here is the brake master cylinder. I had some braided wire lines made for looks.
Here we're running brake lines up to the front brakes.
Connection fitting near one of the front wheels. From here we connect
a brake hose to run out to the brake caliper.
We were installing the starter relay up under the dash area and had a concern that we didn't want the connections to be open in case someone were to reach up under the dash and touch it with a screw driver and short out the electrical system, so we're trying to make a protective cover. This is a spark plug end, but I think it will serve the purpose.
We are installing a key-less start system which also can function for other things as well, such as opening the door from a key fob. It's called 2 Go Keyless. We installed it up under the dash using riv nuts and screws in case we have to remove it at some time in the future.
We installed an inertia switch up under the dash. This switch is in case you were
to roll the car over, it would cut off power to the fuel pump thus stopping
all fuel flow to the engine.
Here is the brake master cylinder. I had some braided wire lines made for looks.
Here we're running brake lines up to the front brakes.
Connection fitting near one of the front wheels. From here we connect
a brake hose to run out to the brake caliper.
We connected the brake pedal to the master cylinder and Steve
is seeing how the brake distance is.
We were installing the starter relay up under the dash area and had a concern that we didn't want the connections to be open in case someone were to reach up under the dash and touch it with a screw driver and short out the electrical system, so we're trying to make a protective cover. This is a spark plug end, but I think it will serve the purpose.
We are installing a key-less start system which also can function for other things as well, such as opening the door from a key fob. It's called 2 Go Keyless. We installed it up under the dash using riv nuts and screws in case we have to remove it at some time in the future.
We installed an inertia switch up under the dash. This switch is in case you were
to roll the car over, it would cut off power to the fuel pump thus stopping
all fuel flow to the engine.
Tuesday, April 8, 2014
Missing parts to be able to install rear end!
Well, we got held up once again. We can't seem to get going on some of this. We went to install the rear end when we realized we didn't have the upper control arm and attachment parts. Then in checking, we find out one of the box of parts that was shipped with the rear end somehow got lost on the way. I'm trying to track it down now.
So we moved our attention to installing the brake lines and master cylinder. We had to install the firewall I had painted and had put away to avoid getting it scratched. We ran into a problem there also. We had installed rev nuts for attaching the firewall and as we were installing the firewall we realized that some of the rev nut were turning, thus not allowing us to tighten the screw. So we had to take the firewall off and punch out the old rev nut and install new ones. But we finally got that one finished. We then installed the master cylinder and brake fluid reservoir. Now we're waiting on the lost parts so we can get the rear end installed.
I also coated the underside of the car with a truck bed liner to reduce heat and to sound deaden a little. I installed a high temp cover under the car where the mufflers will be to try and reduce the amount of heat coming through the floor.
Rear end ready and waiting to be installed.
Firewall installed and master cylinder.
Coated the underside of the floor with truck bed liner.
Coated over the heat resistant material.
Transmission tunnel cover coated also.
So we moved our attention to installing the brake lines and master cylinder. We had to install the firewall I had painted and had put away to avoid getting it scratched. We ran into a problem there also. We had installed rev nuts for attaching the firewall and as we were installing the firewall we realized that some of the rev nut were turning, thus not allowing us to tighten the screw. So we had to take the firewall off and punch out the old rev nut and install new ones. But we finally got that one finished. We then installed the master cylinder and brake fluid reservoir. Now we're waiting on the lost parts so we can get the rear end installed.
I also coated the underside of the car with a truck bed liner to reduce heat and to sound deaden a little. I installed a high temp cover under the car where the mufflers will be to try and reduce the amount of heat coming through the floor.
Rear end ready and waiting to be installed.
I installed some high temp heat resistant material on the underside of the car
to try and keep the heat from the mufflers from heating up the inside of the car.
Firewall installed and master cylinder.
Coated the underside of the floor with truck bed liner.
Coated over the heat resistant material.
Transmission tunnel cover coated also.
Thursday, April 3, 2014
Got some parts, but still not there yet!!
Steve and I have been working around not having the rear end and brakes. We've worked on attaching the A/C condenser in front of the radiator and also installing the fan motor and shroud on the radiator. That took a little doing but we've got that ready to go now.
We also have installed the fuel pump and fuel filters and the fuel line up to the engine compartment. We've also started the wiring process. We installed the fuse box and sorted out most of the wires we'll need to run.
The truck showed up yesterday with the rear end and the brakes. They also were supposed to have a battery box I ordered. Well, the rear end appears OK, but the brakes have the wrong disks. I ordered drilled and slotted disks and the ones that arrived are slotted only. Man, this brake thing has been unreal. Also the battery box somehow got lost on the way here.
We will start installing the rear shocks and rear end tomorrow. I'm hoping for a fast turn around for new disks so we can get the brakes installed which will then allow us the put the tires on and have a rolling chassis, which will start looking like a car of sort.
Putting some heat and sound insulation behind dash area.
Installed fuse box and sorted out some of the wiring harnesses
Didn't keep my finger out of harms way. Got a smashed finger nail

Boxes that arrived yesterday. Rear end in big box, brakes in smaller box
Rear end.
Brakes
We also have installed the fuel pump and fuel filters and the fuel line up to the engine compartment. We've also started the wiring process. We installed the fuse box and sorted out most of the wires we'll need to run.
The truck showed up yesterday with the rear end and the brakes. They also were supposed to have a battery box I ordered. Well, the rear end appears OK, but the brakes have the wrong disks. I ordered drilled and slotted disks and the ones that arrived are slotted only. Man, this brake thing has been unreal. Also the battery box somehow got lost on the way here.
We will start installing the rear shocks and rear end tomorrow. I'm hoping for a fast turn around for new disks so we can get the brakes installed which will then allow us the put the tires on and have a rolling chassis, which will start looking like a car of sort.
Here are the fuel filters and fuel pump
Installed fuse box and sorted out some of the wiring harnesses
Didn't keep my finger out of harms way. Got a smashed finger nail
Boxes that arrived yesterday. Rear end in big box, brakes in smaller box
Rear end.
Brakes
Subscribe to:
Posts (Atom)