Wednesday, February 26, 2014

Plugging along

Well, we still don't have the rear end and the brakes. They keep telling me soon, it's like the one where the person says the checks in the mail : ) Supposedly they will ship next week, I certainly hope that's the case.

In the meantime we have been fitting aluminum panels, installed the steering column, put the horns on, installed the motor and transmission mounts onto the frame. We've also played with the gas tank. The tank that came with the kit would work and is ok, however a company, Boyd's, have made a much better tank and I decided I would use it instead of the standard tank.

Taylor, my grandson, came over one day and he and I spent over 5 hours drillimg the attachment holes for the cabin sheet metal. He did a really good job without much need for guidance from me. I also let him rivet in a couple panels.

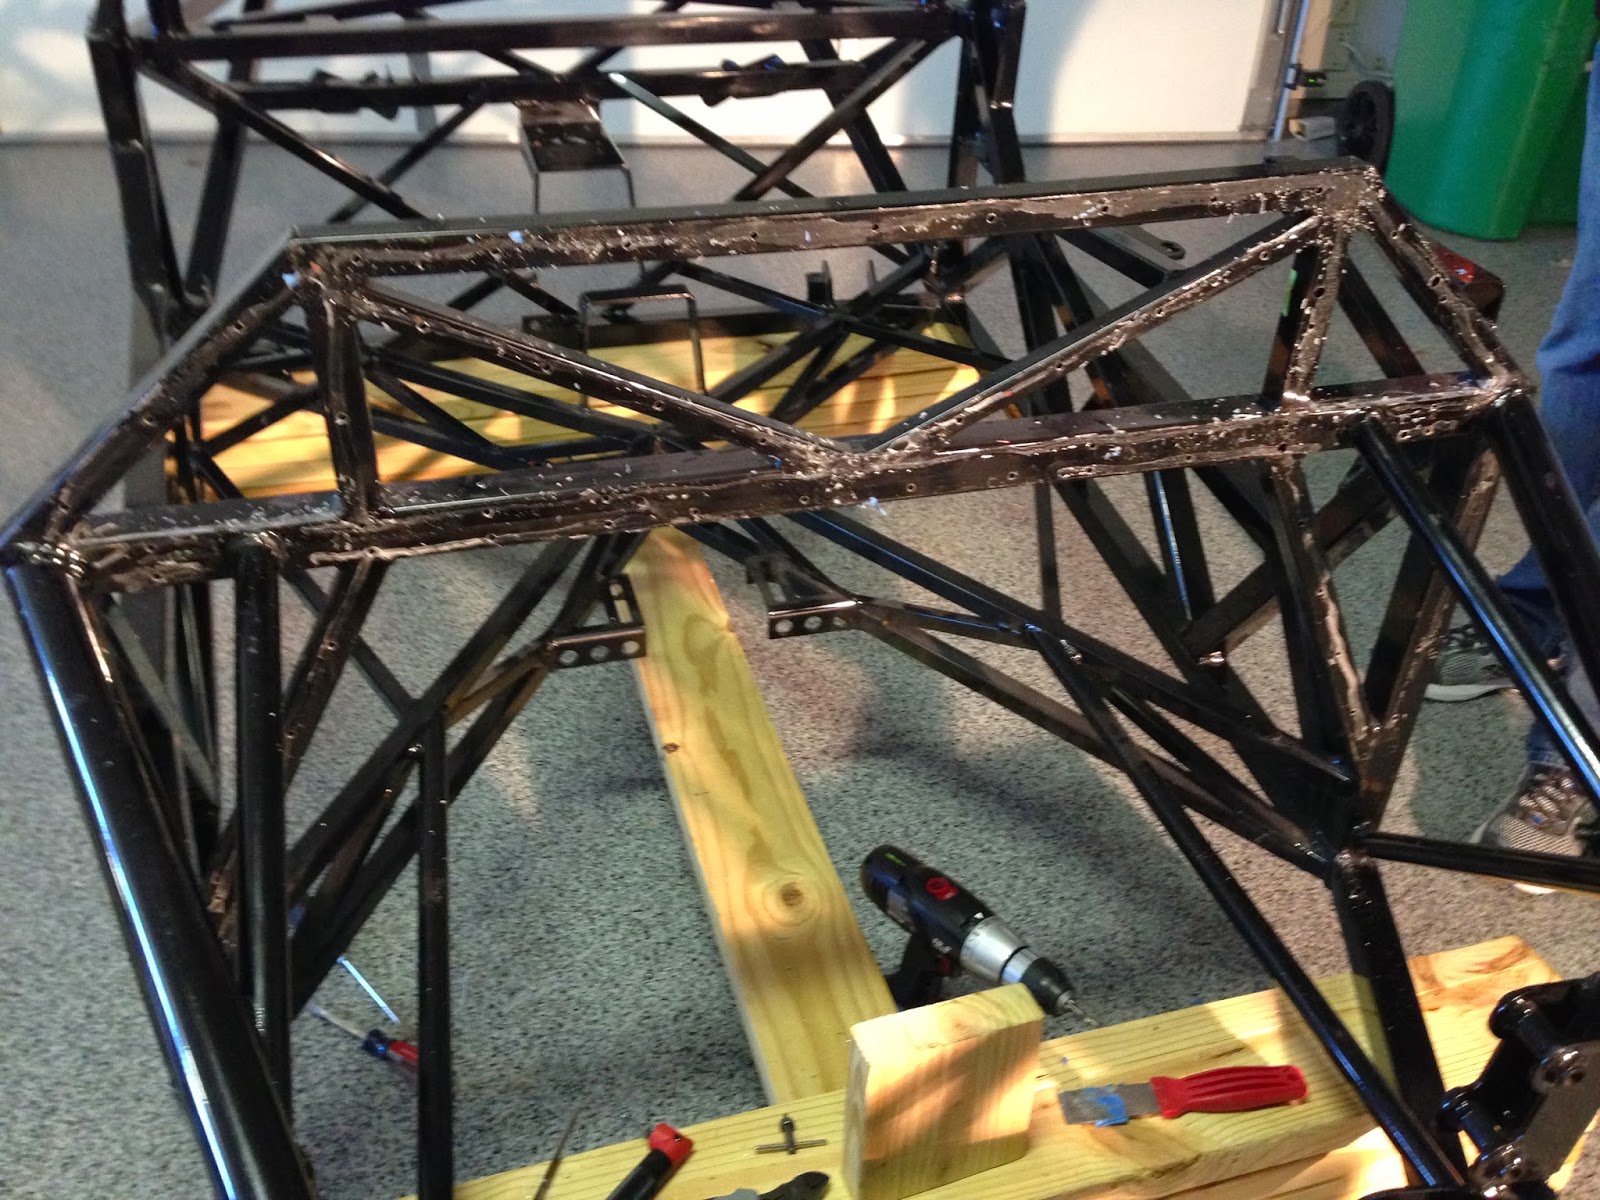
The firewall, when it arrived, wasn't quite what I'd hoped it would be so I took it down to a local body shop, Snider's, who does great work and they did their magic with it and it turned out super. I had it painted glossy black, which is what the car color will be. It will show great with the hood up.

When the rear end and brakes do arrive we will be able to make some large progress or at least I hope we can.

                                                   Rear trunk area sheet metal
 
Standard gas tank. New one below.

 
Gauges I will be using.

 
Horns installed at the bottom. Two round things.


              Motor mounts partially installed. Left down until motor ready to install.


                                              Transmission attachment mount.
 
Steering shaft bearing partially intalled. Waiting for rest until motor is in.    


                   Steering column. It's chrome so we covered it so it doesn't get scratched

                     New gas tank from Boyd. If nothing else it sure looks a lot better : )
                           You can see where we've drilled the cabin sheet metal here.
 
Taylor helping me out with drilling sheet metal.


                                                   Here he's riveting that piece on.
 
Finished product on that one.

Thursday, February 13, 2014

Starting to get going somewhat.

Well, we're still waiting on the rear end and Wilwood brakes that were supposed to ship with the kit but didn't. We normally would have liked to install the rear end and brakes before moving onto anything else but we're plugging away on other items waiting on those items to arrive.

We had to install rivnuts in the frame to allow us to mount the firewall with flush mounted screws. We had to drill out 71 holes and then install the rivnuts. You had to squeeze really hard on the rivnut puller to get the rivnut to seat properly. My hand got a little tired by number 71 : ) Steve was putting the various sheet metal pieces in place to see how they would fit. I also had my # 1 apprentice Taylor, aka grasshooper, putting some touches to the engine.

I took the instrument panel down to a local auto paint shop I like to have it painted. I wanted to powder coat it, but the firewall was drilled out for a manual transmission clutch cable by mistake so we had to put a plug and body filler into the hole and body filler won't work with the powder coating process.

                                          Grasshoper putting on spark plug dress up kit
 
                                          Parts I took out to be powder coated glossy black

                                    Steve drilling out firewall holes so I could install the rivnuts
 
 
                                                                    Rear look at gas tank
 
 
                                                        Fitting sheet metal pieces in place.
 
 
                                    What will become the trunk. Don't think the clubs will fit : )

                                                    Interior pieces put in place

Sunday, February 2, 2014

Two steps forward one step back.

We worked on a couple issues that didn't really move us forward very much. The firewall was riveted on and painted before my kit was sent to me and the problem was it had quite a few runs in the paint at the rivets. I'm pretty fussy about things like that so we had to drill out 61 rivets so we could remove the firewall. I decided that after I have the firewall powder coated we would reinstall it with counter sunk screws so we had to countersink all the holes in preparation. This will require us to install rivnuts in the frame for the screws to go into.

The second issue we ran into was with one of the wheels. After installing the front wheel spindles we thought we would install the wheels to see how they looked and fit. We found that one of the wheels had a defect and when we tightened up the lug nuts the wheel wasn't tight on the spindle. We spent a long time trying to figure this one out and the only thing we could come up with was that the lug holes on the one wheel got drilled to deep when it was manufactured. I'm waiting now to return the wheel for a replacement.

We're now waiting for the delivery of the correct Wilwood slotted and drilled brakes that should have come with the kit but they made a mistake and the rear-end, which wasn't shipped either as planned, so we can get the brakes installed.

                                    Here we've removed the firewall. You can see glue residue.


                                                    Here you can see one of the runs.

                                                                    Holes countersunk.

                                                                    All countersunk.
 
Steve putting in some pilot holes before I did the countersinking. 

 
This is the wheel that just didn't want to tighten down.


Tuesday, January 28, 2014

Installed steering arm today.


Today we were able to install the front steering arm, but not without a few small challenges. One of the issues we ran into was that we need a few tools we didn't have but fortunately I have a neighbor, Jim Ellis, who I think was Tim Allen's, Tool Guy, mentor, just joking, but he has a bunch of tools : ) So he was able to loan me what we needed. Many of our issue had to do with the torquing on various nuts.

When we were doing the final assembly we found that one of the nuts on the spindle wouldn't tighten down correctly. After much head scratching and cussing of course, we found that we had put one of the arms on upside down. So we had to disassemble what we had done and about one hour later we were back on track. I guess that's part of the fun, solving problems, or at least that's what we tell ourselves.

Then a second problem arose. We decided to try and mount the two front wheels just out of curiosity and found that one of the wheel wouldn't tighten down completely. We still haven't figured that one out, but I've got a call into the folks where I bought them from and they tell me that's not possible, but I had to tell them maybe not, but that's what's happening. So tomorrow we will try and sort that problem out.

Here are some picture of the spindle that gave us the small problem and also the finished product.


Monday, January 27, 2014

Putting front suspension together

Over the last several days we have been trying to sort out the inventory of parts, there are a few things missing, and also getting the front suspension put together. The torque values needed for the front suspension attachments were very high, one being 250 ft lbs. I had a torque wrench but nothing that would go up that high, so I had to run out and buy another torque wrench at Northern Tools.

We're in pretty good shape with the front suspension now but a couple parts didn't get powder coated so we have to get that done to be able to finish up. The firewall was painted before the kit was delivered but I don't like the way it turned out, it had runs in the paint and orange peel, so we're going to remove the firewall and redo it.

Our next step is to install the steering arm. I'm happy that we're now starting to make some progress.


Sunday, January 19, 2014

Kit finally arrives

Well, the kit finally arrived today at 8:30 Sunday morning. Steve Gross was kind enough to come over to help unload it. As you will see there are quite a few boxes. The body parts to be painted are still at Whitby's in NC. I guess that's good because we were running out of space to put things. You can see from the photos where the dolly that we built comes into play.

We did a cursory inventory today but tomorrow we'll do a more detailed inventory of all parts. I'm really anxious to get going on this.

He had another 33 kit on his truck that he was deliverying just down by Fort Worth in Weatherford, not far from us. We'll see if we can find out who that is to share info with.


Monday, January 13, 2014

Mating up tranny to engine


Well we were able to mate up the TCI automatic transmission to the engine. We used brains over brawn by using the lift and the work bench to line up the tranny to the engine. Steve and I are both greenhorns in hooking up an automatic transmission but after a couple little bobbles we were able to get it done. On the Cobra I have a 5 speed TREMEC manual transmission and it just bolted right up without much extra effort. With the automatic tranny there's a little more to it than that. But in the end we prevailed.  : )

I called today about the delivery of my kit from NC and they tell me they should be delivering it this Saturday the 18th. I'm not holding my breath because we've done this drill before.