Saturday, June 14, 2014

Checking off items on the engine start list

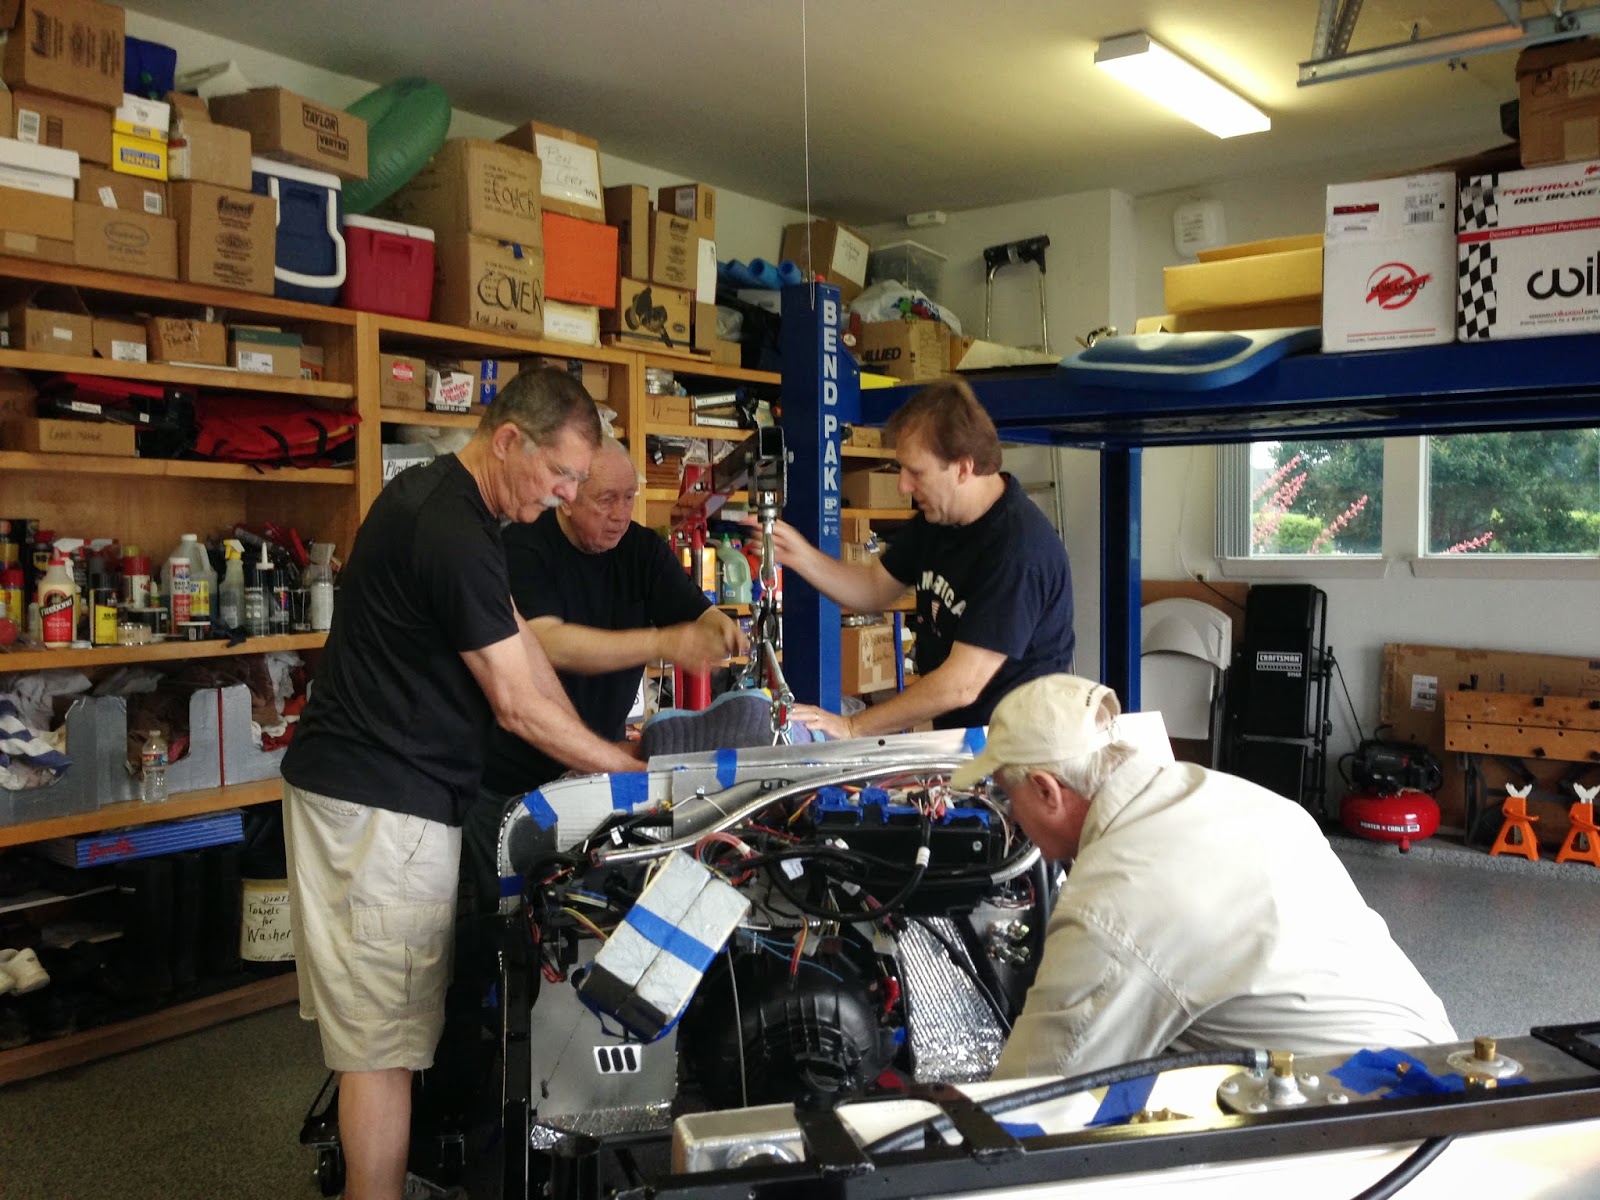
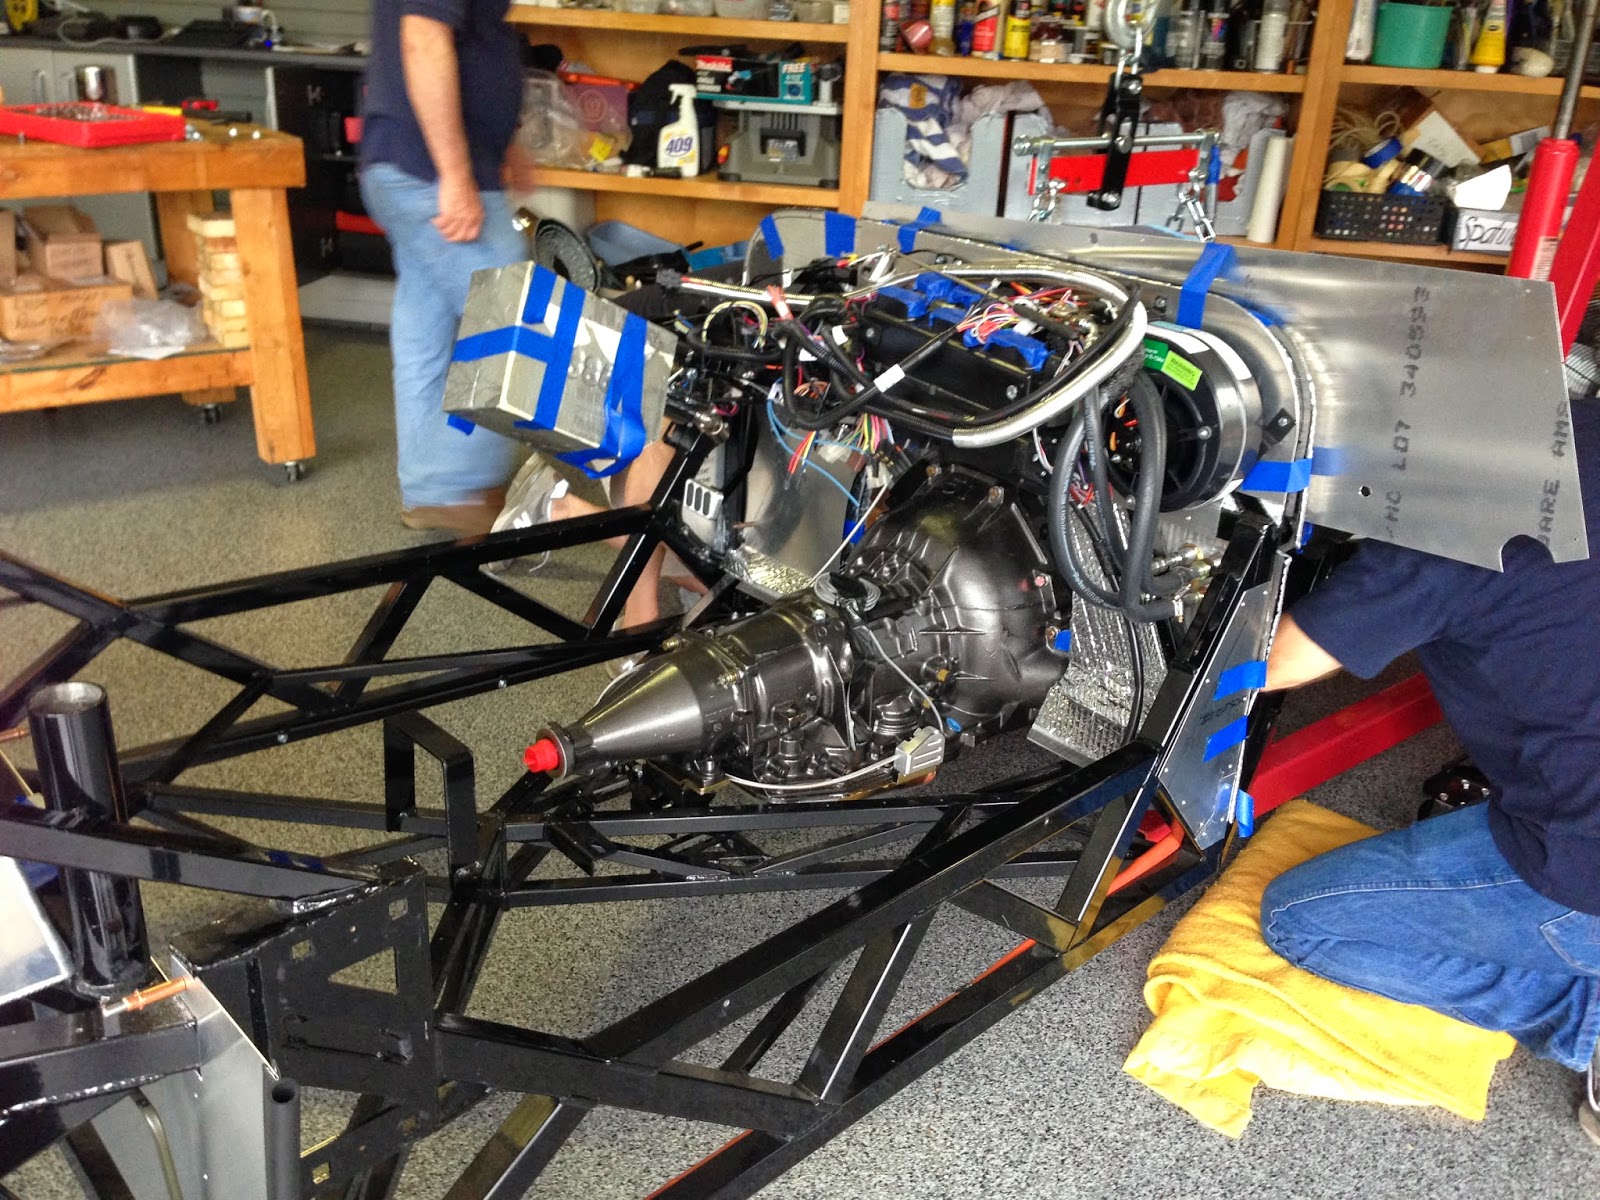
We made good progress again on Friday and Saturday. We are knocking off things on our engine start list. On Friday, our friend from church, Bob, was over to help and worked on making a battery access door for the trunk. Steve was buttoning down some electrical items and we did an initial install on the exhaust system. Did a lot of small items from the list. Saturday I completed the initial exhaust install and a bunch of small things. Made a trip to the hardware store to get parts, lots of parts : )

I can almost hear that motor roaring to life  : )

          Here we're hooking up the passenger exhaust pipe to the header.
          Starter giving us a small problem.

       Passenger side under the car exhaust pipes and muffler with rear pipe.


                                On Saturday I installed the drivers side exhaust.

 
  Here is the radiator fan switch, gold thing, without elec lead installed yet. It will
  monitor the water temps and turn on the cooling fan when he temp hits 185 deg,
  then turn it off when it goes down to 170 deg.


  Here's the radiator overflow hose hooked up to overflow tank.


Here is a grounding bus that Steve needed to take all the wires on top in the
picture and distribute them out onto the grounding bus. More efficient and tidy.


Thursday, June 12, 2014

Working towards engine start, I hope.

We've been making some good progress lately and I decided I would make up a sub to-do list for the items we need to do in order for us to be able to start the engine. From that list we've been able to complete some fairly major ones.

I got a call that they're finally shipping me the brake discs I've been missing, hooray for that one.

Also on my drive shaft problem, I've sent in the rear housing of the transmission and they will send me out a new one. I think the bushing in the one I had is not correct.

Here is a list of the items we completed since my last post.

  • Installed radiator hoses. It took some grunting and groaning and trips to O'Reilly's, but we finally got the upper and lower hoses installed.
  • Installed coil. We tried to figure out a good location for installing the coil and Steve came up with the idea to make a mounting bracket to allow us to install it at the rear of the engine. Looks good.
  • Installed  temporary gauges. We will use temporary gauges for the first engine start and go cart. Go cart is where you drive the car without any body on it so it looks like a go cart. The final gauges are at the painter's and he's making a bezel for them to install in the dash.
  • Ran battery cable and starter cable. Had to get ends for the cables and crimp them on. My neighbor Jim down the street has a good crimping tool and he did the honors on these two cables.
  • Completed some wiring needed for starting. Steve is the wiring man and he's been hooking up some of the wiring harness and other wires we need.
  • Installed plumbing for oil pressure sensor hookup. Boy, it took multiple tries at the parts store to get this one accomplished. Had to install a 90 deg fitting and couldn't get the right combination because of the 90 hitting the engine block when I tried to install it. But finally got the right combo.
  • We're going to tackle installing the radiator overflow tank tomorrow and finish up more of the wiring.

Here are the radiator hoses we installed


                  Here's where we installed the coil. In the back out of the way.


               Here's our crude gauge setup, but what the heck it will serve it's purpose. 

           Here's the problem I was having installing the  oil pressure sensor unit.
          You can see where the 90 was hitting the block so I couldn't thread it on.

         Here's where I finally got the oil sensor unit installed. I used a longer
         connector and took off the oil filter to get it on.
       We needed a wiring  grounding bus and I ended up finding one at a Boat Shop.

Thursday, June 5, 2014

Making some fairly good progress.

We've been making some fairly good progress now that we have the car on wheels and the engine installed. Still don't have the brakes yet, crazy huh.

We installed the grill and it really looks great on the car. Finished up putting the header bolts in with locking clips so the bolts can't work loose. Hooked up the initial exhaust pipe to the header and it was a bit of a struggle because of space.

We re-installed part of the power steering system. We took the steering arms and power steering unit out prior to installing the engine to be sure it didn't interfere with the install. We re-installed the front arms without much issue but then in re-installing the electric power steering unit we started running into the problems. First we couldn't get it back on because the oil filter was to long and interfering with the install. For some reason when we tried to take off the oil filter it was on so tight, we actually crushed it trying to get it off. It must have been put on by King Kong : ) but we finally got it off. I bought a shorter one, but then we ran into the problem that the lower part of the electric steering unit was hitting the oil pan when we tried to bolt it in place. We had to drill all new holes in the power steering mounting bracket to allow us to turn the unit down and away from the pan. We finally won that battle with some pretty tight fits.

We then realized that the rigid oil dip stick that came with the engine wasn't going to work with the BBK Shorty headers I have, so I had to order a flexible dip stick, which we were able to get it to fit into another tight spot. Not the ideal location, but what the heck, it works and this is a new engine that shouldn't have need to check the oil all that often.

Now came a big time bleeder. As I posted previously the drive shaft yoke wouldn't go into the rear housing of the transmission. After checking the sizes we realized that the yoke was not the correct yoke and I had them send me another one. Well, you can almost guess what's coming next. The new yoke came in and it wouldn't go into the rear transmission housing either. After much trying, checking, cussing and phone calls we are having the transmission folks send me a new rear housing. Somehow the bushing in the housing I have, which is to keep the yoke aligned, is not correct. We'll find out when the new one comes in, but the bad news for me was I had to take that rear housing off again to figure this out. I sure hope it's the housing, otherwise I have to start all over.

Steve was over today and Bob and his son Frank. Everyone kept pretty busy and we got quite a bit done. We buttoned down the gas tank and now need to hook it up to the fuel pump and power. Also got in a new battery power cable which we got ready to install. Installed the ground onto the battery.

Steve and I put a grounding strap onto the engine and that turned into a little more time than we thought it would, but all's well that ends well I guess : )

                  Here Steve and I are installing the front grill and radiator.


                                                        Grill in looking good !!

                    Here's where the power steering unit is hitting the oil pan.

                         Here's how badly we had to crush the oil filter to get it off.
                                             Some more grill pictures.


           Here I had to take off again the back housing on the transmission.

                                        Here's the tight fitting oil dip stick.

Wednesday, May 28, 2014

Tranny problem determined and some other items installed.

Well after many calls we finally figured out our drive shaft problem. They gave me the wrong one. I removed the rear housing of the transmission to try and determine what our problem was. We found that at the rear of this housing there is a bushing with an inside diameter of 1.5" and we measured the outside diameter of the drive shaft yoke we were trying to install through it and found it to be 1.68' or .18 over, so it obviously wasn't going to fit. So we have to put that aside until we can round up another yoke with the correct size. Here we go again, waiting for parts : (

We installed the headers, which were a fairly tight fit. I found the header on the passenger side was touching the starter and had to remove the starter and adjust it to not hit the header. Very nice feature on the starter to be able to rotate it to miss hitting things.

Spent a lot of time trying to sort out the drive shaft problem. Need to put the tranny back together tomorrow.

      This is the drive shaft yoke that was too large for the transmission.

                   Here you can see where I took the back housing off the
                   tranny to see what our problem was.

                                         Here is the drive shaft.

                                        Header installed on the passenger side.

                          Rear housing off of the back of the transmission. Kind of
                         an odd angle, it's from the top looking down.

Engine and tranny installed

With the help of a few friends, Jim Ellis, Bob Fusselman and of course Steve Gross whose heavy helping on the build, we were able to get the engine and transmission installed. Things went pretty smooth except for a few tight spots. We had to work at getting the motor mounts lined up but we finally got there. The space is fairly tight so we had to be careful not to bung things up.

We got the engine and tranny buttoned down and then tried to install the drive shaft without any luck. It would go into the rear of the tranny housing about 1" and then hit something solid. We tried for quite a while but finally bagged it for me to check with the tranny folks in the morning. The engine looks great installed.

Traudl was the photographer for the install, she wanted the heavy load : )


Sunday, May 25, 2014

Getting ready to install engine and transmission

We're lined up to install the engine and transmission tomorrow morning, Memorial Day. We thought we would take this morning and get all the loose ends buttoned up to have everything ready for the install tomorrow, so we don't run into any surprises.

The engine was attached to a pallet with support boards so we had to first unhook it away from the pallet. We then attached any items that needed to be attached to the engine, such as engine mounts, starter etc. We also removed the transmission shifter arm from the transmission and the breather cover, so that they won't be damaged during engine install.

We had the engine hooked up and thought we would make a dry run installing it to see if we were going to have any problems. We got it up in the air over the car and all was looking good and we decided, hey what the heck, we already have it lined up so lets give it a go. Well we were doing really well when we realized that the brackets we attached to the engine to lift it with were going to hit the firewall and not let us get the engine in place.

So we had to pull the engine back up out of the car and set it down on the floor to allow us to better adjust the lift brackets to not interfere with the install. At that point we decided that was good enough for the day and set it aside for install tomorrow morning.

                      Here the engine is still attached to the pallet with metal straps.

                         Here we have the engine lifted off of the pallet.

               Here we have installed the drivers side motor mount, gold looking
               thing, and are looking at how to install the starter on the passenger's side.

                       Starter and motor mount installed on the passenger side.

                 OK, here we have the engine ready to give it a go at install test.
 
                        Starting to position the engine and tranny for install.


  We realize here that we have an issue with clearance and have to stop the install.

            Car and motor put away ready for another go at it tomorrow.